Share Now:

Preparing to Wallpaper
A certain amount of preparation is necessary prior to wallpapering, depending on die finish you want and whether or not the walls have been papered before.
Wallpaper faults are not always easy to put right, so prepare surfaces well.
Stripping Walls
Strip all old wallpaper before hanging a new wallcovering. Some manufacturers suggest that you remove only the top layer of vinyl wallpapers and use the backing layer as a lining. This is only possible, however, if that backing layer is stuck firmly enough.
Stripping Easily
• Stripping dry Remove any loose wallpaper before soaking to reduce the amount of mess caused by water and wet paper. Where seams have lifted, you can get a good hold. Vinyl top layers usually pull away easily.
• Soaking walls: Use hot water to soak wallpaper. Apply the water with a large pasting brush. Allow it to penetrate for a few minutes before removing the wallpaper with a scraper.
• Protecting floors Stripping is messy, so you need to protect the floor. As well as dropcloths, put rolls of newspaper at the bases of walls to soak up water runoff.
Safety
When using a stripper, wear goggles to protect your eyes, and keep out of the way of the hot steam. You may wish to protect your hands with gloves.
Following instructions Read manufacturers guidelines carefully before using a steam stripper, since they may differ from one machine to another. Leaving unattended, turn a stripper off when not in use.
Stripping ceilings: Beware of hot water droplets that can collect on the edge of the pad and drip onto you. Keeping cords dry Ensure that no water comes into contact with cicatrical cords.
Using a Steam Stripper
• Steam stripping is by far the most effective way of removing wallpaper from walls. Renting a steam stripper is not expensive, but consider buying one if you intend to strip a lot of wallpaper throughout a house.
• Filling a stripper: Fill a steam stripper with hot water, not cold, to reduce the boiling time required. The equipment will then be ready to use sooner.
• Checking water levels: Make sure that a steam stripper always has plenty of water in it. If you allow the stripper to boil dry, you may damage the element, which will necessitate some expensive repairs.
Scoring Walls
Making Your own Scorer:Adapt an old roller head by inserting long screws at regular intervals so they protrude out the other side. Run the roller over the wallpaper to pierce it and allow water to reach the paste.
Stripping Effectively
With one hand holding the stripper pad in position against the wall, use the other hand to scrape off the wallpaper where the pad has just been. Soaking times will vary, depending on the type of wallpaper.
Traditional Tip
Using vinegar Add a small amount of vinegar to hot water to make a potent stripping agent. The vinegar will react with wallpaper paste, loosening it.
Preparing Walls
Whether walls have just been stripped or are being wallpapered for the first time, good preparation is vitally important. Filling and sanding are essential. Some wallpapers may disguise wall imperfections, but a good surface is necessary for paper and paste adhesion.
Doing the Basics
• Providing a key Sand glossy wails or those with a silky- smooth finish to provide a key for wallpaper adhesion. This will also speed up drying: paste will dry into the wall and out through the paper.
• Sealing dust Seal dusty surfaces with a coat of size or a PVA glue solution (five parts water, one part PVA). This will heJp wallpaper to stick but allow you to move it easily.
• Covering texture If you cannot remove a highly textured coating with a steam stripper, apply a stabilizing coat of diluted PVA (five parts water, one part PVA), then coat the surface thinly with plaster.

Hiding Imperfections
• Masking stains To prevent stains from bleeding through and discoloring wallpaper, spray the affected area with a commercial stain-blocking agent, or apply an oil-based primer before wallpapering.
• Removing protrusions Take old nails and screws out of the wall with a claw hammer, or drive them in and fill. Make sure they are well beneath the surface to prevent staining.
• Covering dark backgrounds When applying light-colored wallpaper to a previously dark or patchy wall, apply a coat of light latex paint to prevent the dark color from showing through and even out patches.
Time-Saving Tip
Filling and sizing Fill any small holes. Before the Filler dries, cover the area with a PVA glue solution (five parts water, one part PVA). Carefully smooth it with a brush to eliminate the need for sanding.
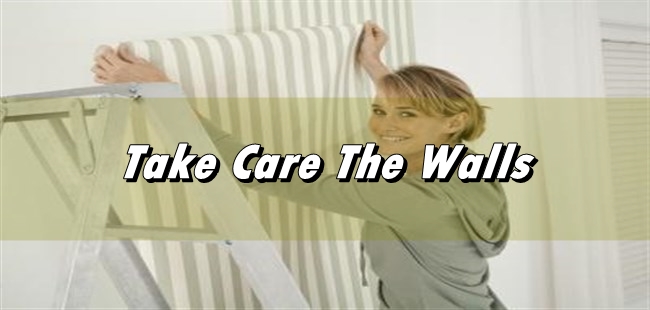
Preparing and Papering Ceilings
As with most decorating jobs, it is best to start at the top and work down. Ceilings should be tackled first after all standard preparation has been carried out.
Filling edges: Ensure that the wall-ceiling junction is precisely filled and sanded, since this edge will provide the guideline for wallpapering on both ihe cciling and the walls.
Testing ceilings: Old latex- painted ceilings may be unstable. The weight of wallpaper may pull the paint off, causing ihe wallpaper to sag. Apply a small test patch of wallpaper to the ciling, and leave it overnight. If it is still firmly stuck in the morning, continue wallpapering.
Playing safe: If you are unsure about the stability of a ceiling, strip off the old paint with a scraper before proceeding any further. Then prepare the surface and seal as usual.
Working Safely And Easily
Build a sturdy work platform by suspending a board between two stepladders. Support the board with a wooden box. Adjust the height of the platform so that the ceiling is about 6 in (15 cm) above your head – close enough to allow you to move the wallpaper easily without being cramped. To reduce the risk of tearing, ask a friend to help you to hold a length of wallpaper while you apply it.