Share Now:

Making Oven Mitts
Another DIY opportunity to bring something useful to your kitchen, as well as to recycle the pieces of fabric accumulated at home. Today we are making oven mitts and handy oven gloves. How to make oven mitts and gloves, we explain this enjoyable work step by step. Let’s get started:
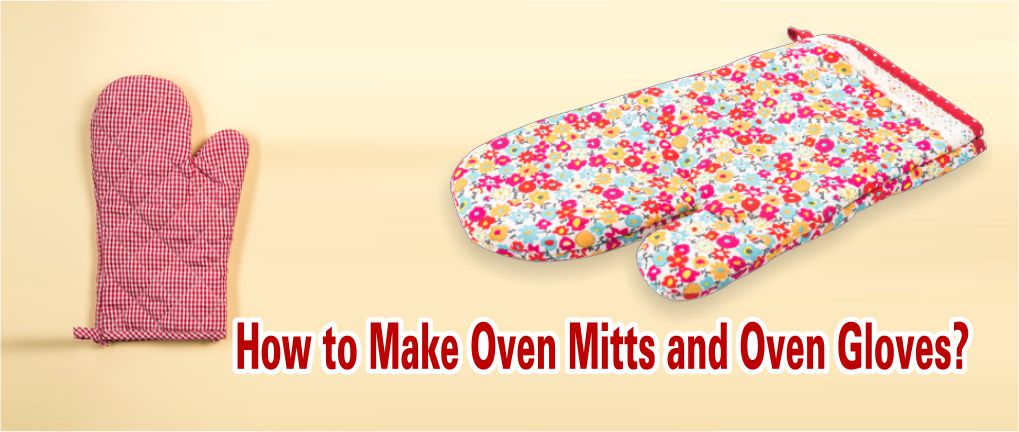
We Are Making Oven Mitts and Oven Gloves
Both oven gloves and mitts are very easy to make, and you can do it yourself with pleasure. Oven gloves are made by cutting out the shape of your hand from layers of fabric, lining, and wadding (batting), then sewing them together. Oven mitts are made in one strip with pockets at each end for your hands. Several layers of fabric, lining and; very easy wadding (batting) are needed to protect your hands.
Making Oven Gloves
- To make the pattern for your oven gloves, simply lay your hand flat on a piece of paper and draw roughly around it, allowing a few centimeters (1 in) extra along all the edges. Smooth off the outline until you are happy with the shape. Cut out this shape twice from the outer fabric, twice from the lining fabric and twice from thick wadding (batting). Even if you are using a quilted fabric, it is a good idea to add an extra layer of wadding (batting) for protection.
- Lay each half of the glove out flat, forming a sandwich of lining, wadding (batting) and fabric and remembering to make a pair. Tack (baste) the pieces together around their outer edges and then bind the opening edge of each section with bias binding. Now place the two halves together, with the lining sides facing, and bind the outer shaped edge. If you wish, extend the binding at the opening edge and fold it back on itself to make a hanging loop.
Girl Photo: created by rawpixel.com – www.freepik.com
Making Oven Mitt
- Cut a strip of fabric about 18cm (1xA in) wide and 80cm (32in) long for the main section, and two pieces each measuring 18cm (7 Ain) square for the end pieces. Cut all four corners of the main section to form curves, and curve two corners of each end piece to match. Cut all these pieces again from the lining fabric, and then cut the two end pieces again from thick wadding (batting).
- Lay the main piece out flat, with its wrong side uppermost, lay the wadding (batting) end pieces onto the ends of this and then cover with the lining section. Tack (baste) everything together around the outer edges, forming a sandwich of lining, wadding (batting) and fabric at the ends. Sandwich together with the fabric and lining end pieces and, using bias binding, bind the straight edges of the end pieces. Lay the main sections out flat, with the lining uppermost. Lay the end pieces onto the ends of the main section, with the lining facing lining, and tack (baste) all the edges together. Bind the entire outer edge.
For More:
Tip: For more information on the “Do It Yourself” works, like “Making Oven Mitts and Oven Gloves” which we have discussed here in general terms, click on the “tags” below.