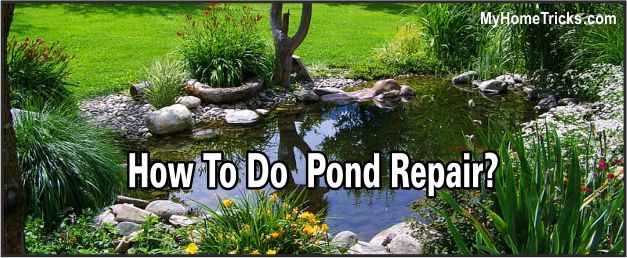
Ponds are a great addition to any outdoor space, providing a serene and tranquil environment that attracts various forms of wildlife. However, over time, ponds may suffer from various issues that require repair. From leaks to cracks, there are many reasons why a pond may require repair. Here are some tips on how to do pond repair.
Pond Repair
Before you begin repairing your pond, it is important to assess the extent of the damage. Some pond issues, such as algae or water quality problems, can be easily resolved. However, more severe issues, such as cracks or leaks, may require more extensive repair.
Emptying a Pond
The first step in pond repair is to empty the pond of all water and contents. This can be done by using a pump to drain the water or using a siphon hose. Be sure to remove any fish or plants and place them in a temporary storage area.
Checking Plants
Once the pond is emptied, you can inspect the plants for any signs of damage or disease. If you notice any issues, it is best to remove the plants from the pond and dispose of them properly.
Temporary Storage
To keep the fish and plants safe during your pond repair, you will need to create a temporary storage area. This can be done by making a temporary pond or using a large container filled with clean water.
- Providing shade: Be sure to store pond plants and creatures in the shade. Without the usual depth of water to protect them, they will be particularly susceptible to damage from high temperatures.
- Providing protection: Place wire mesh over temporary containers to prevent cats and other animals from preying on any fish or frogs.
Making a temporary pond
To make a temporary pond, you will need a large, sturdy container, such as a kiddie pool or plastic tub. Fill the container with clean water and add a pond aerator or filter to ensure the water stays oxygenated and clean. You can then transfer the fish and plants to the temporary pond until repairs are complete.
Removing contents
After emptying the pond, you may need to remove any debris or sediment that has accumulated on the bottom. This can be done using a pond vacuum or by manually scooping out the debris.
Concrete Ponds
If you have a concrete pond, you may notice cracks or damage to the surface. To repair a concrete pond, you will need to clean the area thoroughly and apply a concrete patching compound. Be sure to follow the manufacturer’s instructions carefully and allow the compound to dry completely before refilling the pond.
- New lining: If a concrete or rigid-lined pond is leaking badly, you will probably need to reline it.
- Refill: Empty the pond, then simply lay a rubber liner over the old shell. Refill the pond with water.
- Tiny cracks: Clean and dry the surface thoroughly, then paint the whole area with a commercial pond sealant.
- Large cracks: to prolong the effectiveness of a repair, undercut the crack so that it is wider at the base than it is at the surface.
- Ice: In very cold areas, you may need to empty a concrete pond entirely to prevent damage from freezing water.
Filling a large crack
For large cracks in the pond, you may need to use a sealant or epoxy to fill the gap. First, clean the area around the crack thoroughly and allow it to dry completely. Apply the sealant or epoxy according to the manufacturer’s instructions, being sure to work the material into the crack and smooth it out for an even finish.
Conclusion
Pond repair can seem like a daunting task, but with the right tools and techniques, it can be done easily and effectively. Whether you have a concrete pond or a natural one, taking the time to assess the damage, empty the pond, and properly store the fish and plants will ensure a successful repair. Remember to follow the manufacturer’s instructions carefully and allow plenty of time for the repair to dry and set properly. With a little effort, your pond will be back to its serene and tranquil state in no time.


